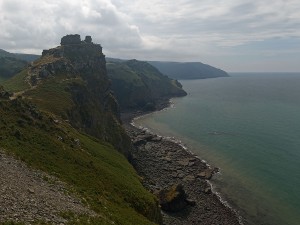
Yesterday I presented a somewhat older panoramic image from 2006. Usually I don’t need that much time to reach a result which matches my vision. My standard workflow for panoramic images starts with loading all the files in the raw converter. I choose a common white balance for all images and unify exposure, shadows, and other parameters which have to be identical among every source image. After stitching I got the following result:

I was really disappointed. In my imagination the view just was stunning. But what I saw on the screen was really dull and boring. I tried to achieve a better result with adding masks and doing some dodging and burning, but I didn’t reach my goal of a spectacular image. So I left the files on the harddisk and they were buried in oblivion.
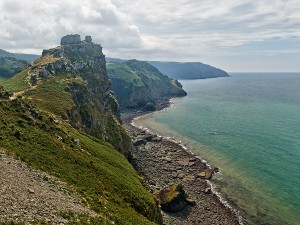
Recently I purchased Olonoe Photo Engine in order to use it for my high dynamic range workflow of spherical panoramas. Independently of that fact, I was recently crawling through the sphericals of our website and I stumbled upon the panorama PanoTwin Jürgen shooting Castle Rock. So I browsed my database for the images and found the long forgotten files of Castle Rock on my hardddisk. Immediately I realised that this image is a good candidate for the mode ‘raw recovery’ of Olonoe Photo Engine. So here is the result after playing a bit with the parameters:

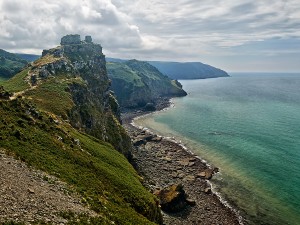
So I choose the ‘raw recovered’ image as new base image of my tweaks. Again I applied some dodging and burning, but now the image matched my vision when I was standing at the coast of Lynton and looking towards Castle Rock. And this is the final result:

As Olonoe Photo Engine is capable of processing TIFF images with a bit depth of 16bit, be sure to start your panoramic imagery with images in RAW mode of your camera. And for best results stick to a full 16bit workflow.
 Show on map