Comparing image crops of Sony LA-EA2 and Sony LA-EA4 on Sony ILCE-7 (with Sony SAL70200G @ 200mm)

Today I did some tests with the two lens adapters Sony LA-EA2 and Sony LA-EA4, which can be used to adapt a lens with a Sony A-mount to a camera with an Sony E-mount. In another article I already compared looks and weigth of the two adapters. In this article I focus on the different image crops when you use the two adapters on a full frame camera with E-mount. I used a Sony ILCE-7 for my tests. On a Sony ILCE-7r the crops are the same, but you get a higher pixel count.

I only tested the Sony 70-200/2.8 (SAL70200G) at 200mm. I used the lens collar of the lens to attach it to a tripod. The lens, the tripod and the subject were not moved after that.

The first image shows the result when using the LA-EA4. The resulting image is the full resolution of the sensor.

Image when using the SAL70200G with LA-EA4 on a Sony ILCE-7 (@ 200mm)

For the second image I only exchanged the LA-EA4 with the older LA-EA2. For this image I used the following configuration of the camera: Menu → Custom Settings (gear icon) → 5 → APS-C Size Capture → Off. You can clearly see the shading of the LA-EA2 on the sensor. The maximum manual crop is marked with the green rectangle.

Image when using the SAL70200G with LA-EA2 on a Sony ILCE-7 (@ 200mm, maximum crop)

For the next image I only changed one setting in the camera: Menu → Custom Settings (gear icon) → 5 → APS-C Size Capture → On. The resulting image showed an even larger crop than the second image but no shading of the adapter. In postprocessing I superpositioned the two images to be able to mark the camera crop in the second image. This is the result.

Image when using the SAL70200G with LA-EA2 on a Sony ILCE-7 (@ 200mm, camera crop)

In the last image I used the first taken picture and marked the three different crops. The red marker is the LA-EA4, the green marker is the LA-EA2 with maximum manual crop and the blue marker is LA-EA2 with cropping enabled in camera.

Comparison of image crops when using LA-EA2 and LA-EA4 in a Sony ILCE-7

The maximum manual crop (which is equivalent to the unshaded area of the sensor) will differ when you use a different lens. And it also differs with different focal lengths of a zoom lens. But this needs some more testing.
Shaving the lens hood of the Samyang (Bower, Rokinon, Walimex) 8mm fisheye lens for usage on the Sony E-mount with full-frame sensors

The Samyang 8mm/2.8 UMC II fisheye lens is available for several camera mounts (Canon M, Fujifilm X, Samsung NX and Sony E). It is designed as a full frame fisheye which covers 180° from corner to corner on these aforementioned mounts with their respective sensor sizes. But since the introduction of the Sony cameras with E-mount and full frame sensor there is an interesting new option for panoramic photographers.

In all the featured examples of this post I just took a picture of a white piece of paper bended around the lens which I converted to a black and white image afterwards.

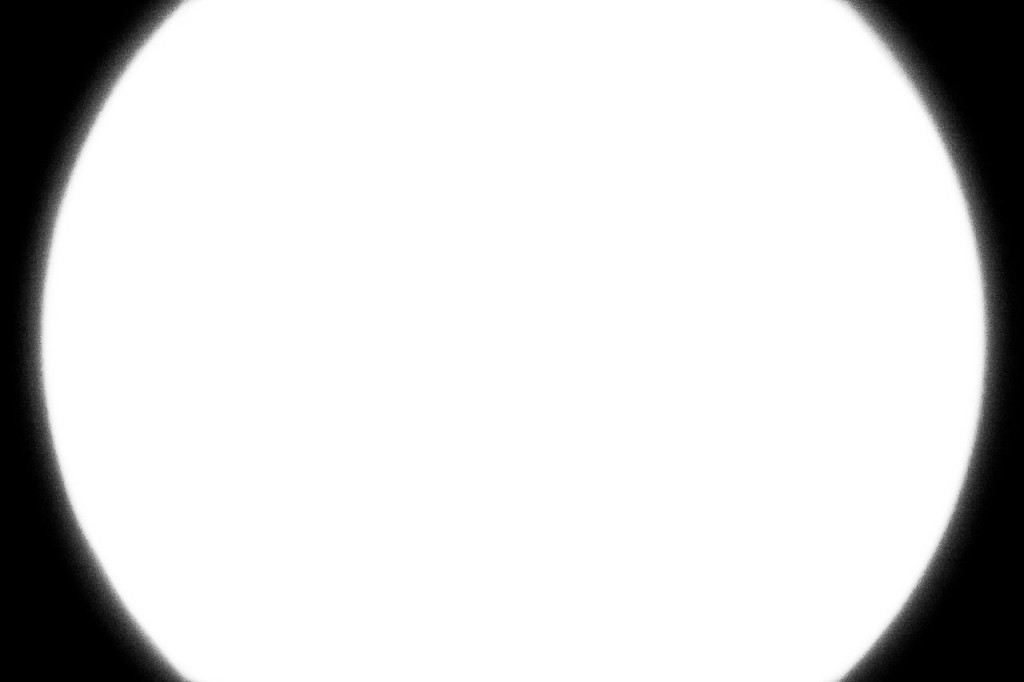
If you mount the lens in its original state on a Sony ILCE-7 (or ILCE-7r) then you get an image which looks something like this.

Samyang 8mm/2.8 UMC Fisheye on Sony ILCE-7 (original lens hood)

You can clearly see, that the lens hood shades a good part of the image. Which is of course a bad thing if we want to shoot a spherical with this lens.

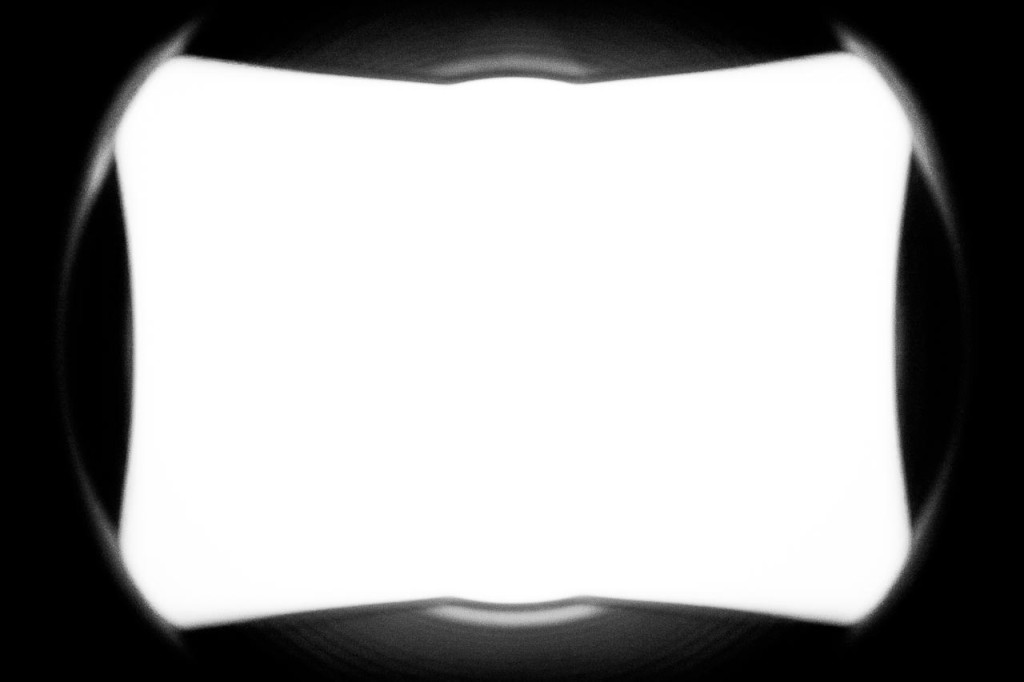
In the next example I therefore used a side cutter to remove the plastic lens hood on the longer side of the sensor.

Samyang 8mm/2.8 UMC Fisheye on Sony ILCE-7 (lens hood of long side shaved)

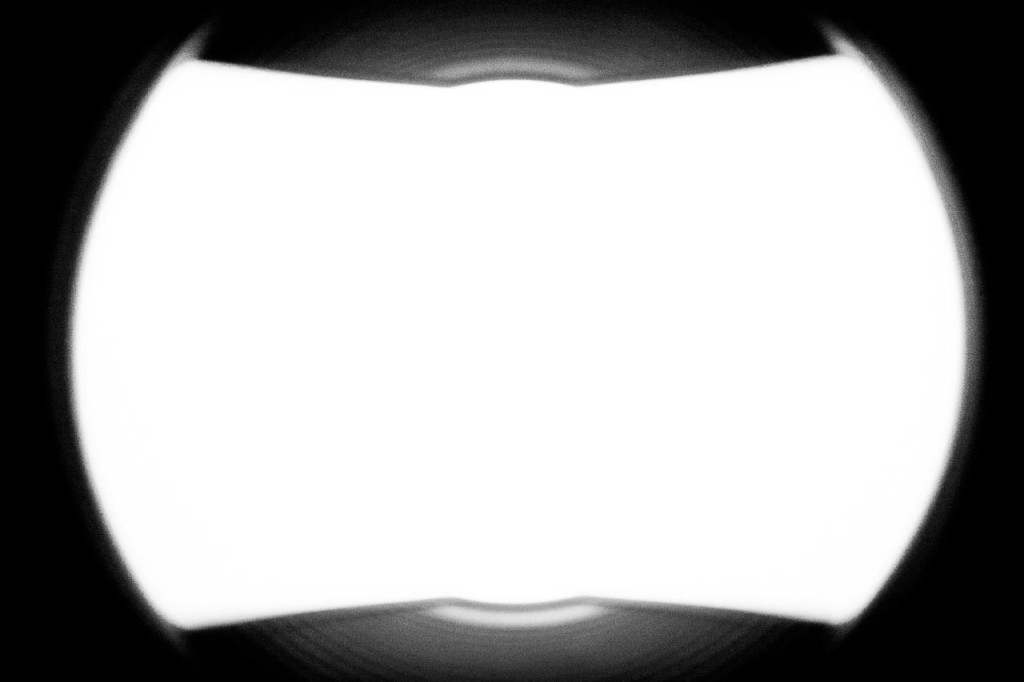
And in the final example I removed as much of the lens hood as I could. This is the final resulting image.

Samyang 8mm/2.8 UMC Fisheye on Sony ILCE-7 (lens hood completely shaved)

In this state the lens covers approximately 190° on the long side of the sensor. With three or four images easily covering the full sphere the final equirectangular is 10000 pixels by 5000 pixels in size on a Sony ILCE-7.

You can already find a daylight, blue hour and indoor example from Markus which were all shot with a shaved version of the lens and a Sony ILCE-7.

Additional remark

The shown images were produced with an Samyang 8mm/2.8 UMC II fisheye lens on a SONY ILCE camera with a full frame sensor. You can gat a nearly identical result if you use the Samyang 7mm/3.5 UMC fisheye lens with a SONY ILCE camera with APS-C sized sensor and an micro 4/3 to E-mount adapter.

Comparing corrected and uncorrected images of CV12mm/5.6 on Sony NEX-7

In a post from yesterday I analyzed a series of images from the Voigtländer Ultra Wide Heliar 12mm/5.6 on my Sony NEX-7 in order to identify the best aperture for maximum resolution. I wondered about the impact of my corrections at the stage of post-processing the images. To answer this question I picked the image taken with an aperture of f=8 and compare a uncorrected and a corrected version of the image.

While post-processing the uncorrected image I did the following:

  • conversion from ARW- to DNG-format
    (Adobe DNG Converter 6.6.0.261)
  • input sharpening in Adobe Camera Raw
    (Sharpn. = 25, Shrp.Radius = +1.0, Shrp.Detail = 25, Shrp.EdgeMasking = 0)
  • noise reduction in Adobe Camera Raw
    (LuminanceSmoothing = 0, Col.NoiseReduction = 25, Col.NoiseRed.Detail = 50)
Magenta cast and vignetting in corners uncorrected, distortion and chromatic aberrations also uncorrected.
Full image (uncorrected) with marked crop locations

While post-processing the corrected image I did the following:

  • conversion from ARW- to DNG-format
    (Adobe DNG Converter 6.6.0.261)
  • correction of magenta cast in the corners and vignetting with cornerfix
    (cornerfix 1.4.2.0)
  • correction of chromatic aberration in Adobe Camera Raw
    (ChromaticAberrationR = -15, ChromaticAberrationB = +8)
  • correction of distortion in Adobe Camera Raw
    (LensManualDistortionAmount = +3, PerspectiveScale = 101)
  • input sharpening in Adobe Camera Raw
    (Sharpn. = 25, Shrp.Radius = +1.0, Shrp.Detail = 25, Shrp.EdgeMasking = 0)
  • noise reduction in Adobe Camera Raw
    (LuminanceSmoothing = 0, Col.NoiseReduction = 25, Col.NoiseRed.Detail = 50)
Corners corrected with cornerfix, distortion and chromatic aberrations corrected with Adobe Camera RAW
Full image (corrected) with marked crop locations

For each of the marked locations in the full image I extracted a square (250 pixel * 250 pixel) which I will present at it’s original resolution. These images are not sharpened except for the same input sharpening with the raw converter. They are saved for web with a quality-setting of 60%.

Voigtländer Ultra Heliar 12mm/5.6@8 (uncorrected)

Voigtländer Ultra Heliar 12mm/5.6@8 (corrected)

In my opinion it’s clearly visible that the applied correction didn’t reduce the resolution of the image and therefore the identification of the best aperture for maximum resolution is not affected by these corrections.

Voigtländer Ultra Wide Heliar 12mm/5.6 (on Sony NEX-7) at different apertures

Recently I started using a Voigtländer Ultra Wide Heliar 12mm/5.6 on my Sony NEX-7. In two other articles I already described how to configure your NEX-7 for maximum assistance with manual lenses, how to attach the lens to the camera and how to post-process the images to eliminate the magenta cast in the corners.

As I am aware of the fact, that any combination of lens and body has it’s maximum sharpness at a specific aperture I did a series of test images to find this maximum. My subject was the front of a building. It has a nearly flat surface and the clinker bricks contain a lot of fractal details. The camera was mounted on a tripod whose distance to the wall was approximately 15 meters (approximately 50 feet). Images were taken with self-timer to prevent any camera-shake. Focus was set at the first exposure which was taken at f=5.6. The image quality was set to RAW (6,000 pixel * 4,000 pixel).

While post-processing the images I did the following:

  • conversion from ARW- to DNG-format
    (Adobe DNG Converter 6.6.0.261)
  • correction of magenta cast in the corners and vignetting with cornerfix
    (cornerfix 1.4.2.0)
  • correction of chromatic aberration in Adobe Camera Raw
    (ChromaticAberrationR = -15, ChromaticAberrationB = +8)
  • correction of distortion in Adobe Camera Raw
    (LensManualDistortionAmount = +3, PerspectiveScale = 101)
  • input sharpening in Adobe Camera Raw
    (Sharpn. = 25, Shrp.Radius = +1.0, Shrp.Detail = 25, Shrp.EdgeMasking = 0)
  • noise reduction in Adobe Camera Raw
    (LuminanceSmoothing = 0, Col.NoiseReduction = 25, Col.NoiseRed.Detail = 50)

The following image (at f=8) was scaled to 1,500 pixel * 1,000 pixel, sharpened and saved for web with a quality-setting of 60%.

Corners corrected with cornerfix, distortion and chromatic aberrations corrected with Adobe Camera RAW
Full image with marked crop locations

For each of the marked locations in the full image I extracted a square (250 pixel * 250 pixel) which I will present at it’s original resolution. These images are not sharpened except for the same input sharpening with the raw converter. They are saved for web with a quality-setting of 60%.

Voigtländer Ultra Heliar 12mm/5.6@5.6
Voigtländer Ultra Heliar 12mm/5.6@8
Voigtländer Ultra Heliar 12mm/5.6@11
Voigtländer Ultra Heliar 12mm/5.6@16
Voigtländer Ultra Heliar 12mm/5.6@22

In my opinion it’s easy to see that the Voigtländer Ultra Wide Heliar 12mm/5.6 reaches it’s maximum sharpness at an aperture around 8 on a Sony NEX-7. If you stop further down diffraction starts to limit the resolution. For further reading on this issue try to start at this page at diglloyd.com.

Geotag Icon Show on map
QR Code Business Card