North of Bad Hindelang arises the Hirschberg. It is a mountain, that is 1500m high. Near the cross is a beautiful viewpoint to the valley of Bad Hindelang, Bad Oberforf and also towards Oberjoch.
[pano file=”https://www.panotwins.de/wp-content/panos/MMatern_20120731_0034_GipfelkreuzHirschberg.xml” preview=”https://www.panotwins.de/wp-content/panos/MMatern_20120731_0034_GipfelkreuzHirschberg.jpg”]
 Show on map
Author: PanoTwin Markus
Unpacking a Sony Cyber-shot DSC-RX100
The PanoTwins camera family got a new offspring: The Sony Cyber-shot DSC-RX100. I did not expect the camera to be available before August. However several posts on different blogs talked about the availability of the camera. So I visited the home page of my local camera dealer – not expecting the sign: In stock. I headed for the store immediately, because I wanted to see it for real. I bought the camera 5 Minutes after talking it the first time into my hand. And now I can show you some unpacking images:
On the side of the box you can read about the sensor size: 1.0 type (13.2mmx8,8mm) CMOS Sensor 20.2 Mega pixels. I did not find the sensor informaion on the box of the Sony Alpha 77 😉

After opening the box you find a second box containig a multilingual (15 languages: GB, FR, IT, ES, PT, DE, NL, PL, CZ, HU, SK, SE, FI, NO and DK) “Digital Still Camera / Instruction Manual”. Each language has roughly about 33 pages in the manual. No CD is included, but a leaflet stating: “PC software is in the camera. See instruction Manual or User Guide for details.”

After removing the second box the camera is revealed.

The camera has several protecting covers and a small identification plate attached to it. This is the view from the front with the lens still closed.

Top view of the camera.

First time with extended lens, that spans a 35mm equivalent range of 28-100mm with F1.8-4.9.

After removing the camera tray you find the accessories on the bottom of the box.

The accessories include a rechargeable battery, that has to be loaded inside the camera by connecting a supplied USB cable. The included transformer has an USB connector that fits this cable. Furthermore you find three straps, that can be attached to the camera. However the shoulder strap is an optional accessory and is not included! You’ll only find a wrist strap and two short straps for attaching a shoulder strap.

Reprojected Euro Symbol near European Central Bank
This stereographic reprojection shows the Euro Symbol near the European Central Bank in Frankfurt.

 Show on map
Reprojected German Senior Championships 10000m
This image shows a reprojected version of this panorama. The reprojection type is stereographic.

 Show on map
Reprojected Piața Unirii in Timișoara, Romania
This image shows a Droste type reprojection of the Piața Unirii in Timișoara, Romania.

Reprojected St.Sylvester Church Interior
These reprojections are based on this spherical panorama. They both show the same church interior, however the first one uses a stereographic up projection, the second one a stereographic down projection.


 Show on map
St.Sylvester Church Interior
Interior of the St. Sylvester church in Munich.
[pano file=”https://www.panotwins.de/wp-content/panos/MMatern_20120616_4008_St.Sylvester_InsideBottom.xml” preview=”https://www.panotwins.de/wp-content/panos/MMatern_20120616_4008_St.Sylvester_InsideBottom.jpg”]
 Show on map
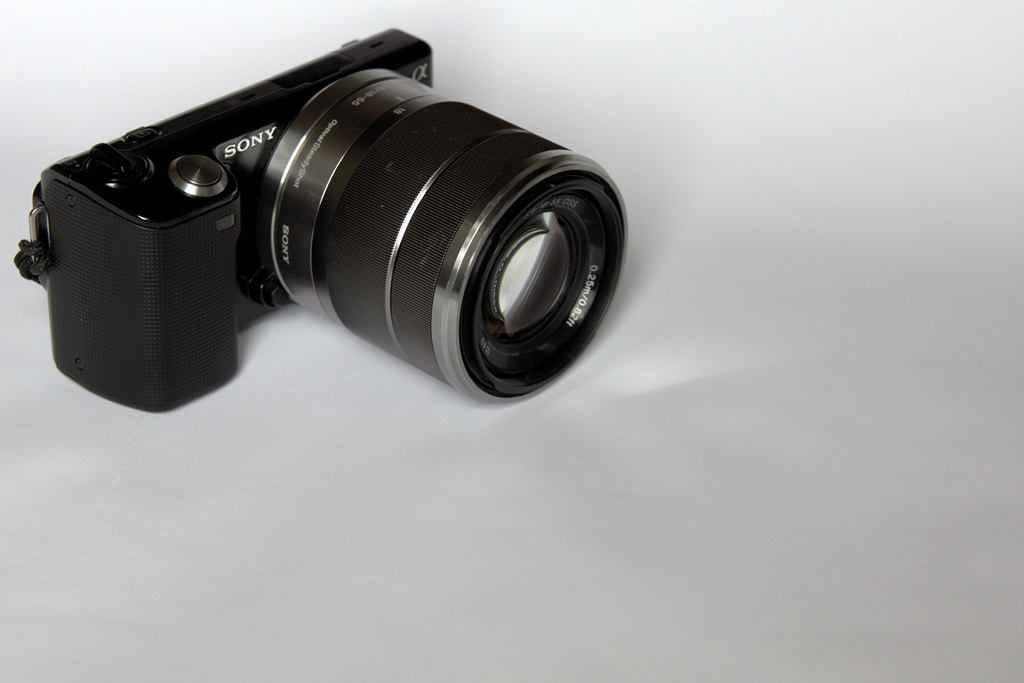
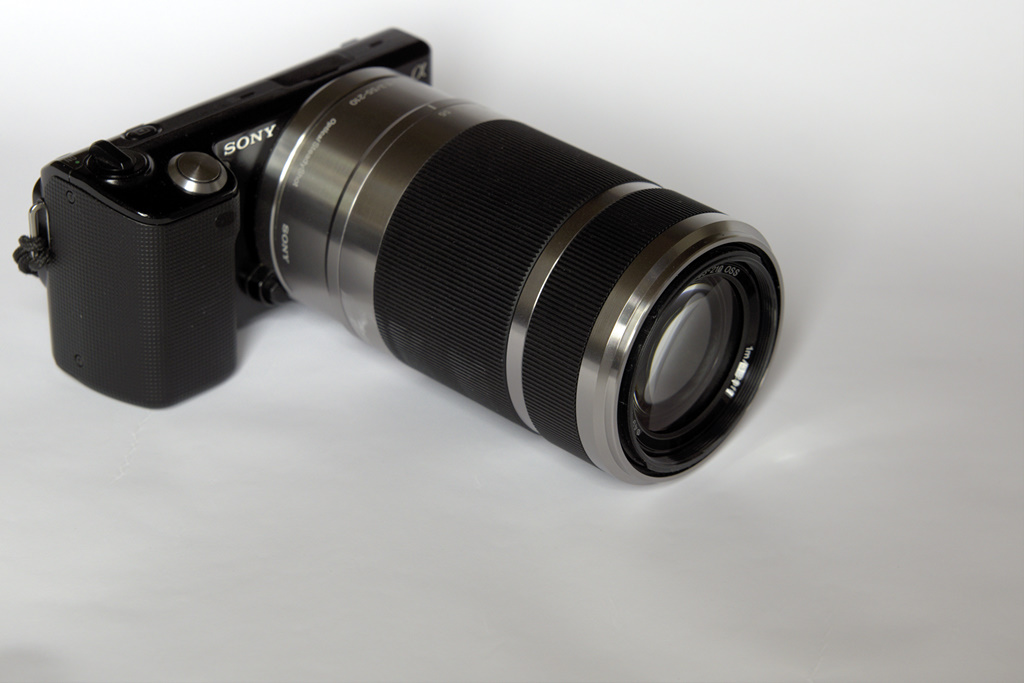
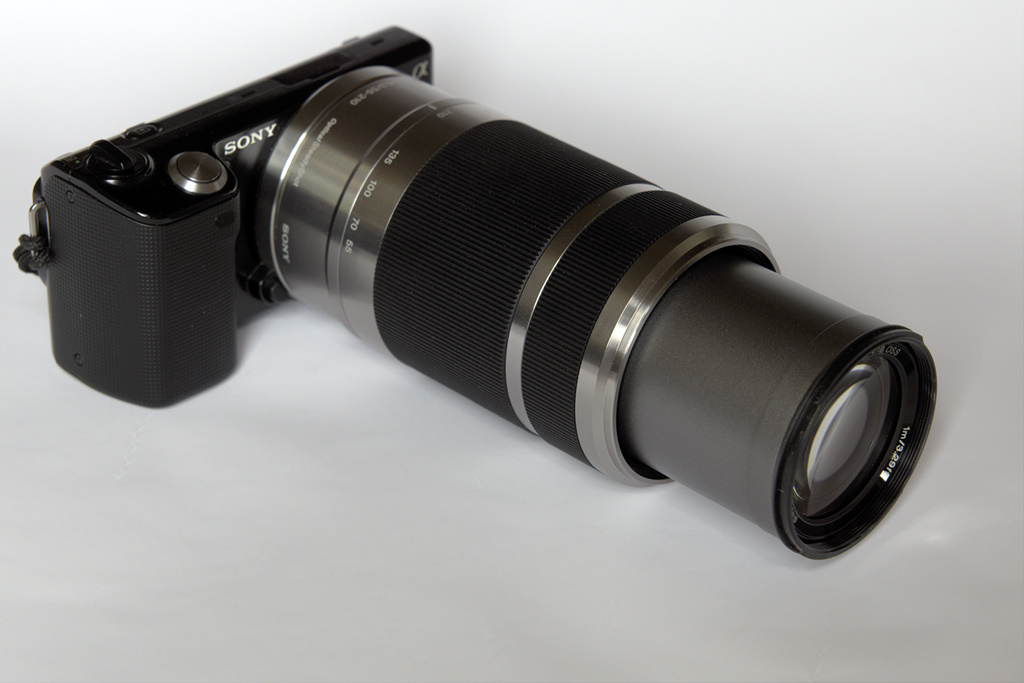
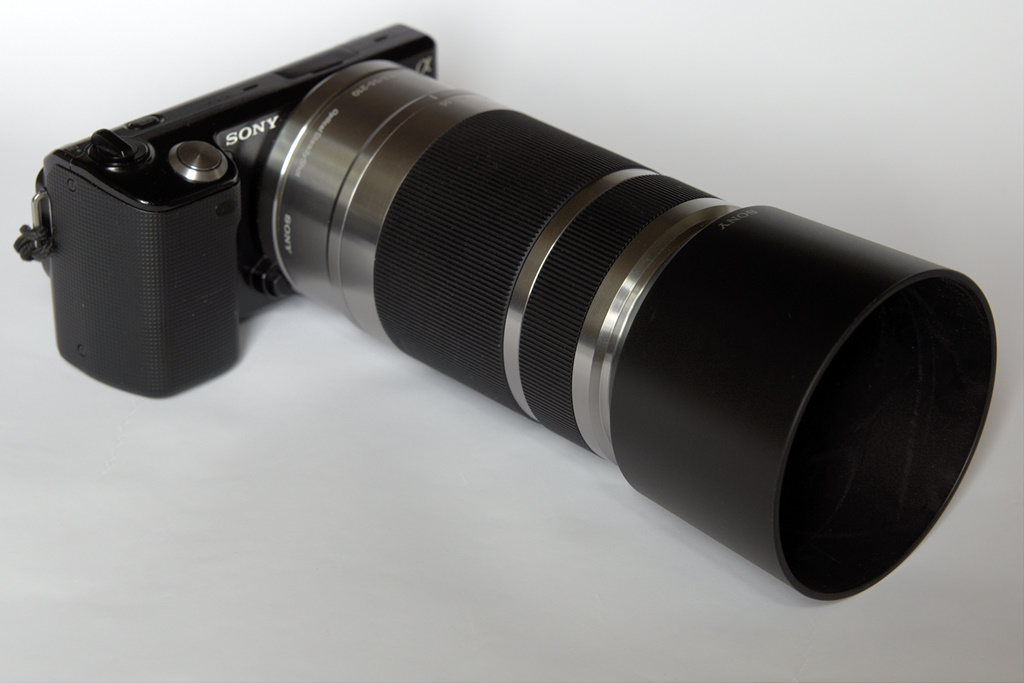
Sony SEL55210 E-Mount Lens
View over Bad Oberdorf and Bad Hindelang
Experimenting With a Cinemagraph
Click on the thumbnail image to open the cinemagraph in a higher resolution. The original footage has been taken from a Full- HD movie. I exported some seconds of the film to individual images and used The Gimp to create this animated GIF image.


