[pano file=”https://www.panotwins.de/wp-content/panos/MMatern_20110326_6591_AntiAtomDemoBuehne.xml” preview=”https://www.panotwins.de/wp-content/panos/MMatern_20110326_6591_AntiAtomDemoBuehne_start.jpg”]
Year: 2011
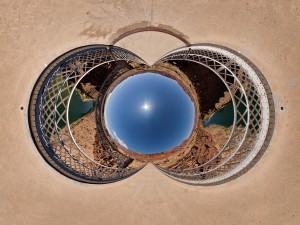
Reprojected Bridge over Marble Canyon
This image shows a reprojected version of this panorama. The projection is “stereographic up”.
 Show on map
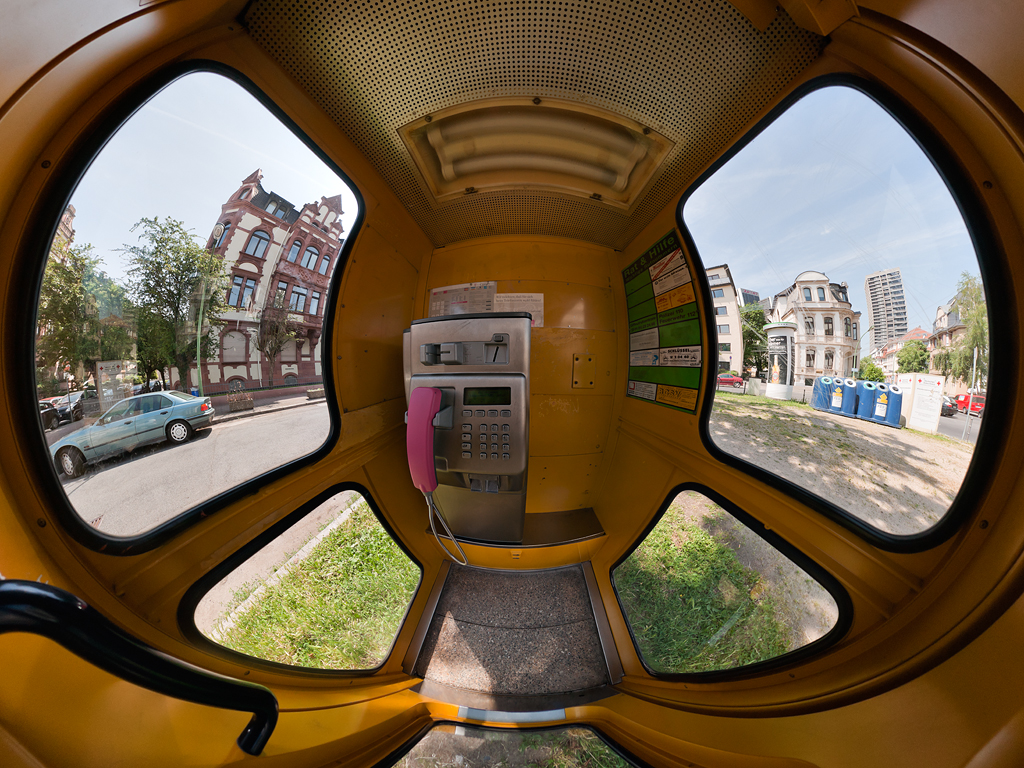
Reprojected Telephone Booth Frankfurt
This image shows a reprojected version of this panorama. It is an old german telephone booth.
Reprojected Drawbridge Stralsund Harbor
This image shows a reprojected version of this panorama. It is a drawbridge in the harbor of Stralsund.

 Show on map
Reprojected German Reichstag building
This image shows a reprojected version of this panorama. The Projection is “stereographic down”.

 Show on map
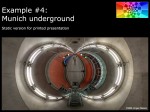
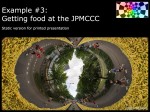
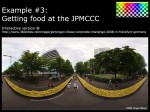
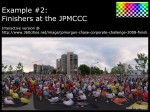
Reprojecting equirectangular images, examples
This gallery shows a talk I held at the PanoTools meeting 2009 in Timişoara. It discusses some aspects of reprojecting equirectangular images.
Reprojected Library Staircase (Again)
This image shows a reprojected version of this panorama. It is the staircase of the Bavarian State Library in a Droste reprojection.

 Show on map
Reprojected Library Staircase
This image shows a reprojected version of this panorama. It is the staircase of the Bavarian State Library in a Droste reprojection.

 Show on map
Reprojected Three Green Stripes (Making Of)
In this article I try to explain the steps, that were necessary to get the result I presented in the previous post. The consecutive steps are explained below and a preview of the result is shown twice. The first one is the original image, the second one a coloured chequered artificial image.
- I decided to make a panorama from inside a tripartite pillar. The exact pillar is shown on the image below.

- I used my usual workflow and took three images for each direction. Furthermore I made a zenith and nadir shot. I used the Sigma 8mm F4 fisheye lens on a Sony Alpha 700 and shot RAW images. Postprocessing was made with Bibble 5 Pro.

- I stitched the images into an equirectangular image using PTGui Pro. The final panorama was 8000×4000 pixels in size.


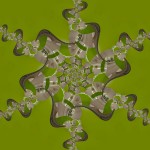
- This equirectangular image was reprojected using again PTGui Pro using a stereographic projection with a field of view of 333° and a pitch angle of 90°. The result is the following image. The original image had a size of 5550×5550 pixel.


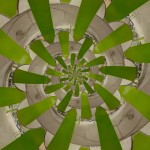
- For a Droste spiral effect I had in mind you need a somehow circular masked image. I’ve chosen to mask the “leafes” and scale the image down to 4000×4000 pixel. The result was the following image :


- The last step in the transformation process was again a reprojection applying the Droste effect using the Pixel Bender Toolkit. You find the Pixel Bender filter and an introduction into the Droste effect in this post. The basic parameters for the Droste filter were: strandMirror: yes; transparentInside: yes; transparentOutside: yes; twist: yes; periodicity: 3; strands: 2. I played around with the rest of the parameters until I was satisfied with the result.


Reprojected Three Green Stripes
These images show reprojected versions of this panorama. The tram station “Münchner Freiheit” has a futuristic roof built of white steel, painted green on the inside of the three part pillars. The initial panorama for these reprojections was made inside one of these structures.
 Show on map
